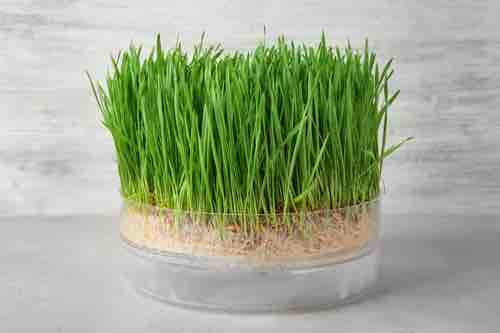
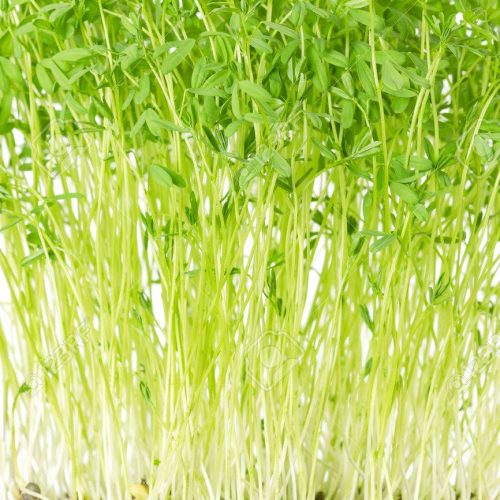
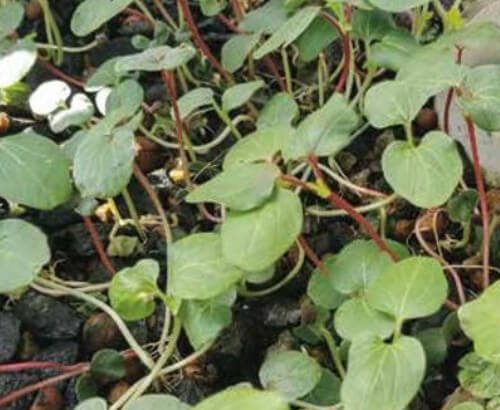
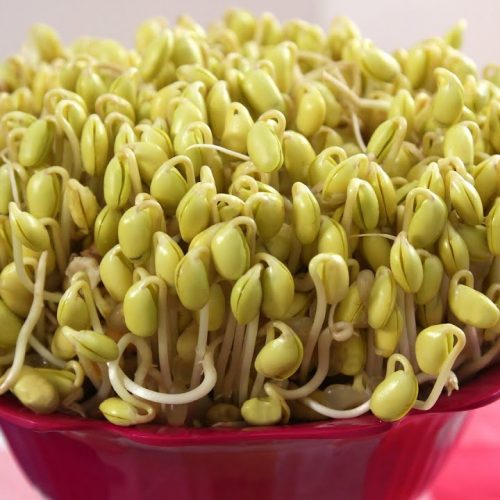
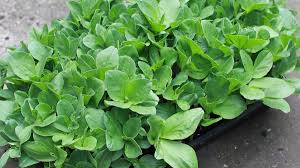
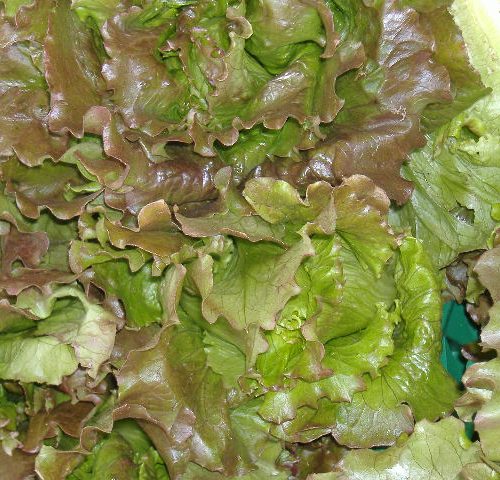
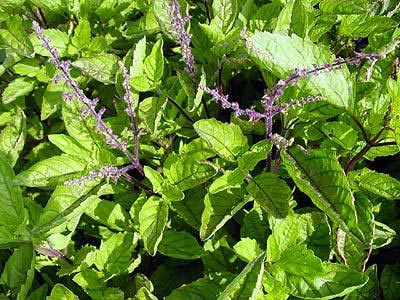
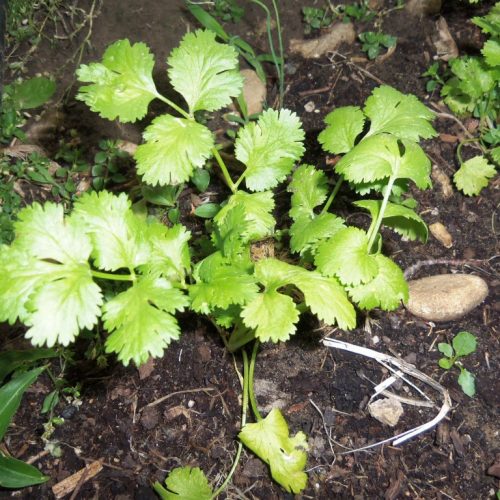
Microgreens are a quick, delicate and nutrient-rich crop that can be added to salads or eaten fresh. Microgreens are useful as they required little space, time and expertise to grow. Microgreens are similar to sprouts, although only the delicate greens are eaten and not the germinated seed.Before Planting: Ideal soil temperature is 75°F until germination, then reduced to 60°F for growing. Temperatures above 75° can increase disease pressure and inhibit germination. Grow on potting mix or soilless medium of your choice in shallow trays.
Planting: Broadcast seed thickly on the media surface with seeds 1/8- 1/4″ apart, press seeds firmly into media for maximum soil contact, and cover lightly with sowing mix, vermiculite, or humidity dome. Microgreens can be germinated on heat mats, in germination chambers, or on greenhouse benches or floors.
Watering: Bottom water or mist to prevent sowing mix from splashing on the seedlings. Maintain even moisture and do not allow sowing medium to dry out.
Fertilizer: Most medias will have some form of nutrient which should be enough for growing microgreens to size, such as potting mix, plain water is usually best. Watering with a dilute fertilizer solution from bottom is appropriate for media with no inherent nutrient value.
Days to Maturity: Fast-growing varieties are typically ready for harvest in 10-15 days while slow-growing varieties are ready in 16-25 days.
Harvesting: Once microgreens are desired size, cut with scissors or a sharp knife and minimize handling to reduce damage.
Tips: Consider supplemental lighting in any environment where natural light is insufficient.
TEMPERATURE
- Germination: 20-24°C
- Growth: 16-18°C
SOIL
- Microgreens require a mixed soil, rich in nutrients and with a good capacity to retain water.
- For microgreens, we recommend this soil mix.
HOW TO START
- Rinse seeds in a strainer under running water.
- Pre-treatment: soak in water for some time to induce germination. (Consult directions indicated on the seed package.)
- Use a shallow plastic container (5 cm max.) with holes on the bottom for drainage.
- Fill the container with a layer of soil, leaving no more than 1 cm from the soil to the top of the container. Delicately compress the soil, not too much.
- After any pre-treatment, sow the seeds uniformly across the soil, with a seed density around 1 to 4 seeds per cm² depending on the size of the seed.
- Moisten soil and seeds using a spray bottle, so that they are sufficiently wet to stay moist for 2 to 3 days.
- Cover the container with plastic wrap and keep in in the dark for 2 to 3 days, until the seeds sprout.
NUTRITIONAL VALUES
- Microgreens are characterised by a richness in vitamins and nutrients anywhere from 4 to 40 times higher than full-grown vegetables. They are capable of helping digestion and protecting against illness.
LIGHT
- Microgreens do best in full light, in a well-ventilated area.
- 12 to 14 hours per day is recommended for growing indoors with Bulbo lights.
TIME OF GROWTH
- Expect about 2 to 5 days for germination and 5 to 21 days from seed to harvest, depending on variety.
- Harvest after the first true leaves appear and when the microgreens reach anywhere from 3 to 7 cm.
WATERING & CARE
- When the seeds have sprouted, remove the plastic wrap and expose the container to light.
- Keep the soil continuously moist, using a spray bottle to water at the roots. Careful not to get the leaves wet.
HOW TO USE
- Microgreens should be consumed raw.
- They can be used as a garnish on a main dish, instead of lettuce on sandwiches, or even in cocktails and juices. Their flavour is typically stronger than their full grown companions.

Microgreens


